OCR (Optical Character Recognition) is not an easy task, both the quality of the source PDF and OCR option affect the quality and accuracy of the output file. One study based on recognition of 19th- and early 20th-century newspaper pages concluded that character-by-character OCR accuracy for commercial OCR software varied from 71% to 98%.
This tutorial will show you how to improve OCR Conversion Quality using PDF to Word OCR.
Tips for improving the quality of OCR conversion:
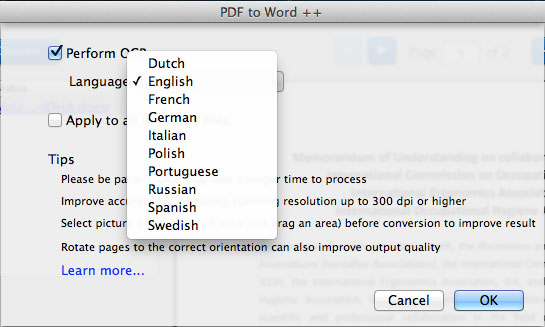
1. Select the correct document language.
You need to select the appropriate document language prior to OCR conversion. This is an extremely important step to get accurate text recognition result.
For example, if your PDF is in French but you choose English as OCR languages, the non-English character like ‘ é à ‘ will not be recognized correctly.
The application supports 10 languages, including English, French, German, Italian, Spanish, Portuguese, Polish, Swedish, Russian and Dutch.
2. Increase scanning resolution
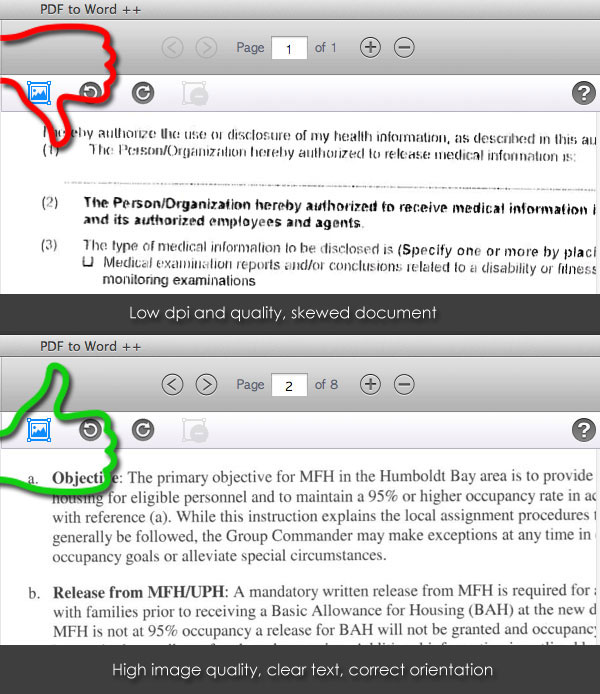
The quality of conversion depends on the quality of the original PDF. Poor document images quality and the skewed document may not be converted accurately.
And the image in PDF document should be at least 300 dpi, and 600 dpi is recommended for document with smaller fonts. Or the text will be stuck together and OCR is hard to recognize those text.
3. Rotate pages to the correct orientation
Incorrect orientation of the document will result in poor conversion quality.
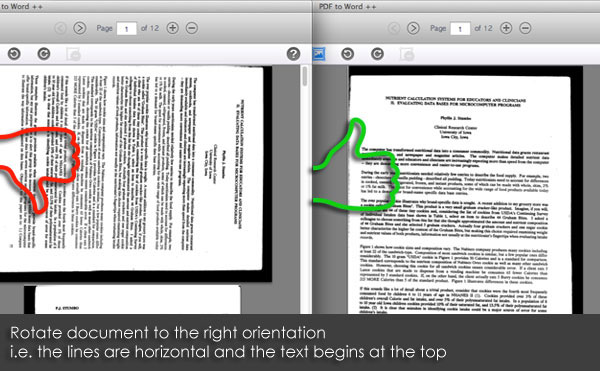
Move your mouse cursor to the left top of the built-in PDF reader, you’ll see rotate buttons appear. Rotate operation only affects the current page.
![]()
4. Select image areas.
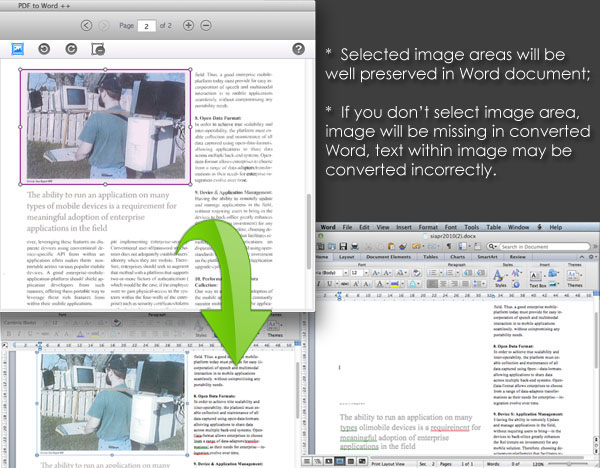
Extracting text is the main purpose of performing OCR, if the scanned PDF contains images elements, you need to select them prior to the conversion for better formatting preservation and accuracy.
(1) To select image areas, move your mouse cursor to the built-in reader, hold left-click and drag to select an area. And then release the mouse.
(2) To move or adjust the area, click on it and drag the area border to the desired location.
(3) To remove a selected area, simply select and press ‘Delete’ button on your keyboard, or move your mouse cursor to the left top of the built-in PDF reader, you’ll see ‘remove’ buttons appear. You can remove single selected areas, or all the selected areas in this document.
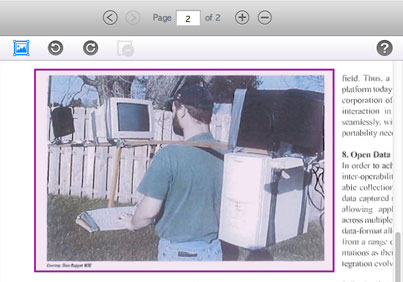
The selected area will be preserved as an image in converted Word document and the app will not perform OCR for the select areas. By doing this, you can keep the original layouts better. If you don’t select image area, text on the image will also be OCRed, but the image will be missing in the output document.
Related tutorial:
How to Convert Scanned PDF with PDF to Word ++ >>
How can you distinguish scanned PDF from normal PDF file? >>
